Nuffnang Ads

Thursday, 15 September 2016

Bukit Tabur East

Finally we get to come to this peak!!

Long story short, let's skip to the hiking day itself!!

It's rather easy to reach Bukit Tabur East entrance.
You just need to Waze it and you'll be directed to the entrance itself.

How to know whether you're at the right place?
If you see the huge pipelines, BINGO!! You are at the right place!!

 *the huge pipelines at the entrance*


Just walk until the end of the pipelines, and take note of a small fork on your right, that's the start of the trail.
From what I read on other hikers' blogs, there used to be a signboard stating it's restricted area but the day I went the signboard was already torn by half; and that's where the trail starts.

The start of the trail is already a very steep sloop. It's not really a sloop, it's a 70 - 80 degree steep steps all the way up. 

Now let the photos do the talking of how steep it is!!


 *the first view that welcome us!*

*the trail continues to be steep all the way*

*the second view that welcomed us!!* 

 *the third viewpoint*

 *the fourth viewpoint - KL city view*

*the other side of fourth viewpoint - Klang Gates Dam - just look at the mirror-like water!!*

*the peak of Bukit Tabur East, and that's where we are going*

*a tree which we came across, looks like the demon tree in enchanted forest*

*a closer look of the peak - you can see people climbing up in the photo*

 *the final challenge to the peak!*

Note to all hikers, if you are afraid of height, you might need to reconsider whether to climbing up this part. It's literally 70 - 80 degree slope.

*us at the peak!!* 


 *the daring posers in our group*

*the daring poser in our group*

*the crystal rock on crystal hill*

We spent around 1 hour at the peak taking photos.
None of us is willing to go down as the view is really breathtaking!!

We started hiking at 7am, reached the peak at 9.30am (including the waits and queues).
Started descents at 10.40am and reached back at the carpark around 11.30am.

An accident happened when we were descending from the summit.
As you can see from the photo above, the last part of rock climbing to the summit is VERY STEEP
We will need to descent from the summit using the same route.

As we can only descent one person at a time, the queue has formed and some hikers lost their patience and decided to descent from the other part where no one is queuing.
One of the impatience hikers causes one rock as big as my head fell from the peak and rolled all the way down to the ground, at a direction where all other hikers are on their way down.
Luckily no one was hurt or injured during that incident.

Imagine one big rock falling from 6th floor of a building with full force.
I can't imagine how severe the injury will be if it hits someone.
That's why, DO NOT RUSH!!!!
Save yourselves and the other hikers!!!

Once all of us got down from the summit, we descent to carpark using another route.
The descending trail is much more easier compared to the ascending route.
It's quite steep but it is all mud and ground.

Summary of the hike:-
1. Wear gloves to protect your palms as you will be doing lots of rock climbing. And the rock surfaces are all very sharp. 
2. Sufficient water needed.
3. Peak is at 275m above sea level.
4. Long pants preferable, especially for those with limited hand/arm strength. I have very limited strength on my arms which made me knelt on the ground most of the time to support myself and to climb up, which then causes my both legs and knees full of tiny scratches and bruises.
5. MUST be very cautious during the whole hike as it's very dangerous. Support each other during the hike. DO NOT RUSH as most parts of the trail only can fit one person at a time.
6. People with fear of heights should reconsider climbing this hill
7. Be ready for lots of rock climbing and to do a lot climbing with physical strength.
8. The trail is very clear so do not have to worry of getting lost in the forest.

To hike all parts of Bukit Tabur, you will need a hiking permit.
You can get the permit from the location below:-

Pejabat Hutan Daerah Selangor Tengah
KM 11 (Batu 9), Jalan Cheras-Kajang,
43200 Kajang, Selangor Darul Ehsan.

Contact No : 03-9075 2885
Fax No        : 03-9075 6022

That's all for this hike!! Stay tuned until our next hike!! =)

Tuesday, 16 August 2016

Gunung Angsi via Bukit Putus

Our most recent hike was at Gunung Angsi.

Gunung Angsi is located at Seremban.
There are 2 routes to reach the peak (from what I read on other hikers' blog) - Bukit Putus and Ulu Bendul.

The distance from entrance to peak is around 4km for Bukit Putus and around 7km for Ulu Bendul.

For this time, we chose the shorter and easier route (or so we thought) as we are all recovering from the SCKLM 2016 where all of us participated on 7th Aug 2016.

When we reached there, we registered ourselves to get the hiking permit and paid RM5 each. 

*the carpark - which is actually just the roadside of the entrance*

*queuing for registration and payment*

 *the emergency contacts*


*rules and regulations to be strictly followed*

*the starting point*

The starting point is well maintained. Basically you can see the starting point when you reach there. All the cars are parked at the roadside.

And so we begin our hike!!

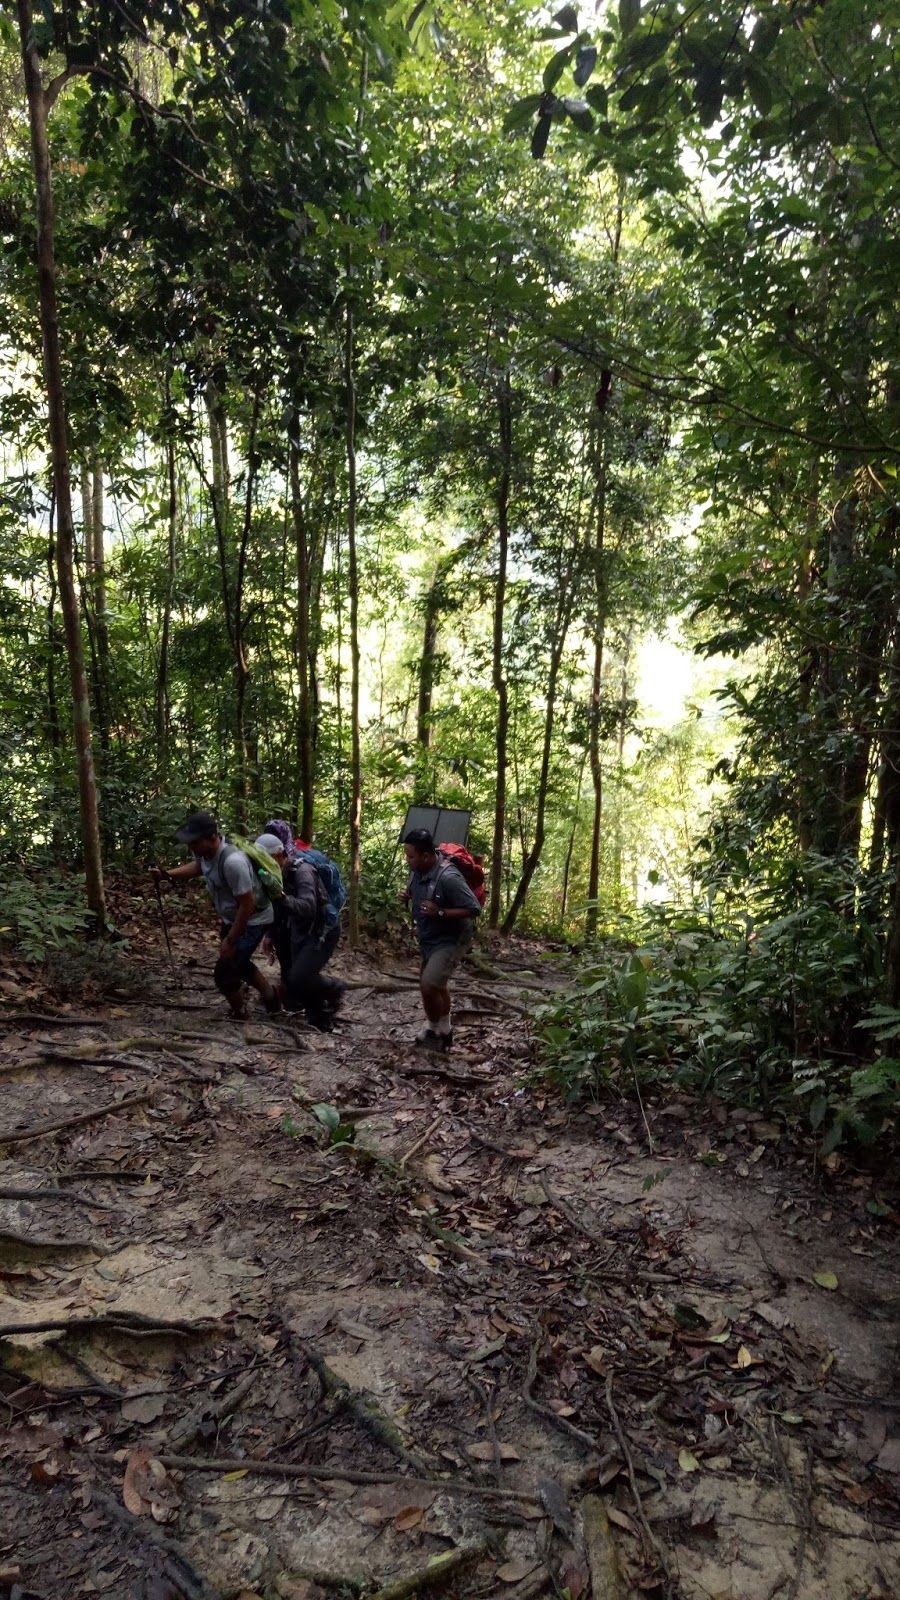
The starting part is really no joke. It is all the way uphill with 45 degree slope.
It took us around 30 minutes just to hike this part and literally I have almost used up all my energy.

*yes. this is just the start of the hike*

 *the terrifying slope*

 *the view from upper part of the slope*

 *finally some flat ground*

And just as we thought there is no more terrifying slope,
There's another one in front!!


 *the 1st checkpoint*

*some chairs and cooking utensils at the 1st checkpoint*

Once we reached the 1st checkpoint, we had a very short break to recover ourselves from the first part of the hike. 
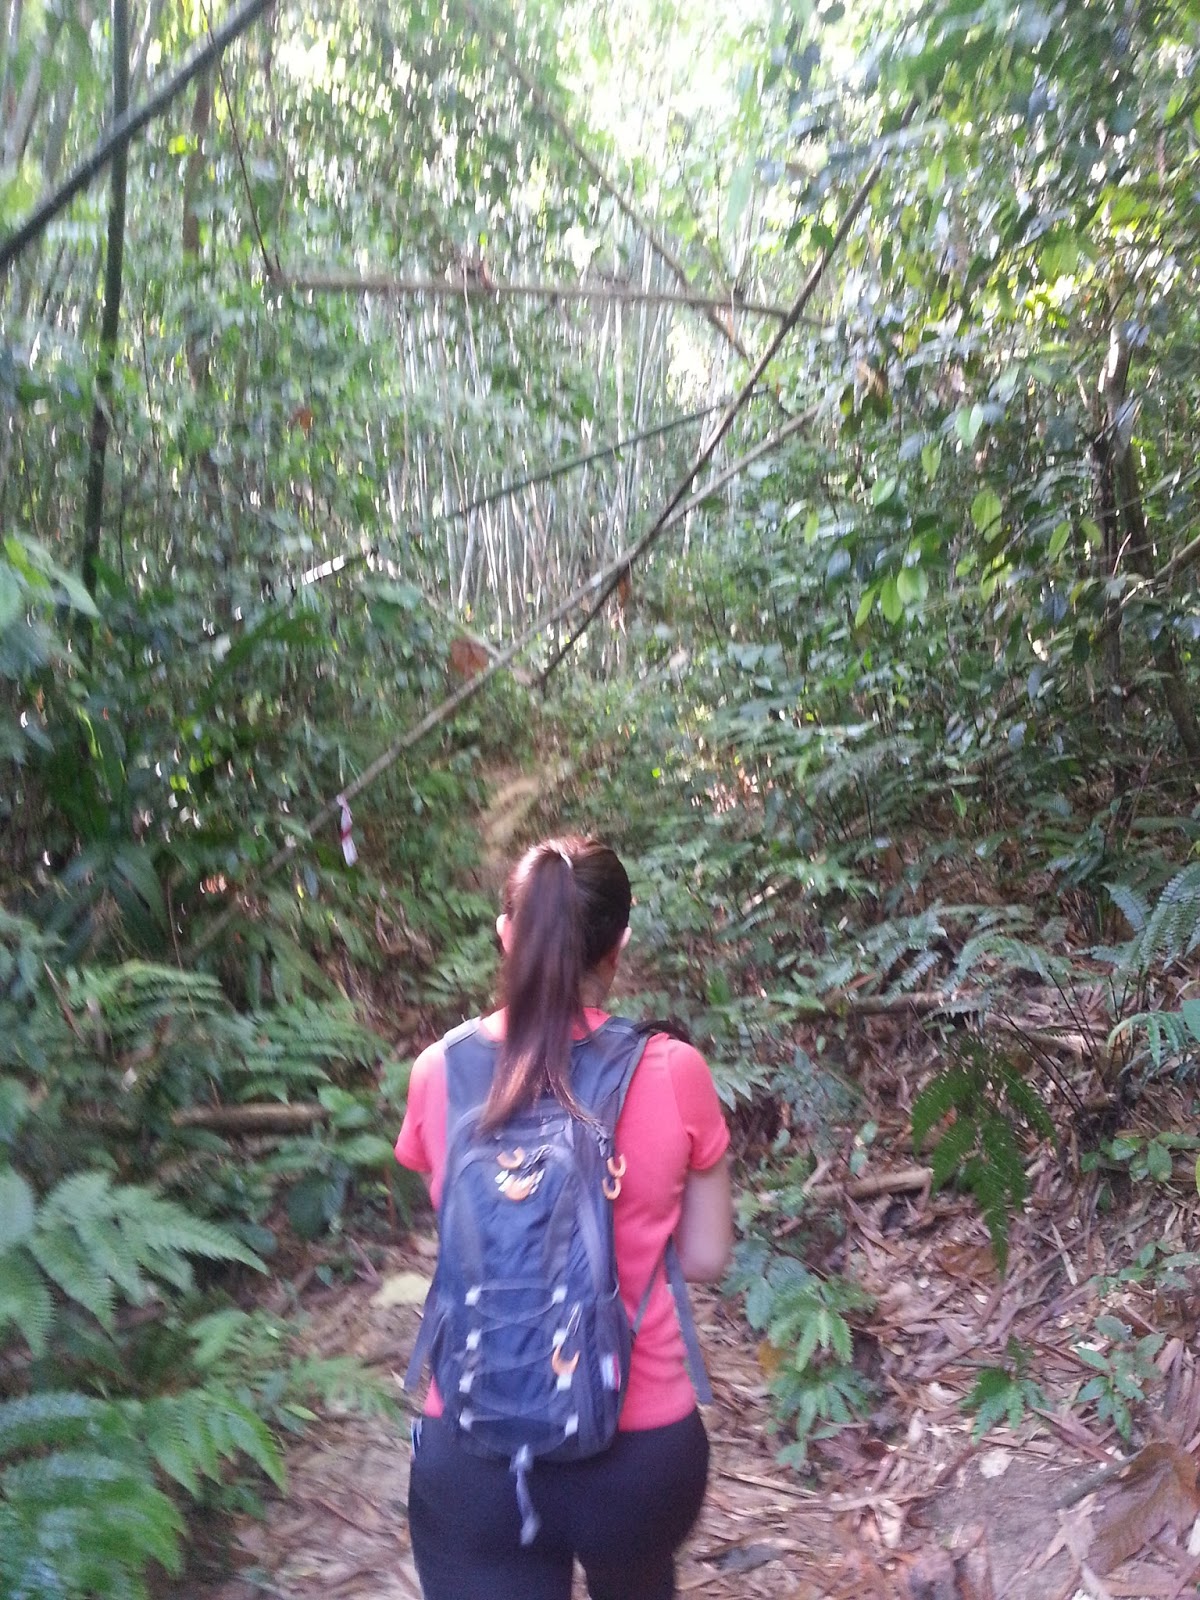
And after this checkpoint, the route is more flat with some slight uphills, until we reach the peak.
Most part of this route is uphill with around 200m downhill.

 *the view at reservoir viewpoint*


*this was supposed to be waterfall view but we cant't see anything due to the thick fog* 

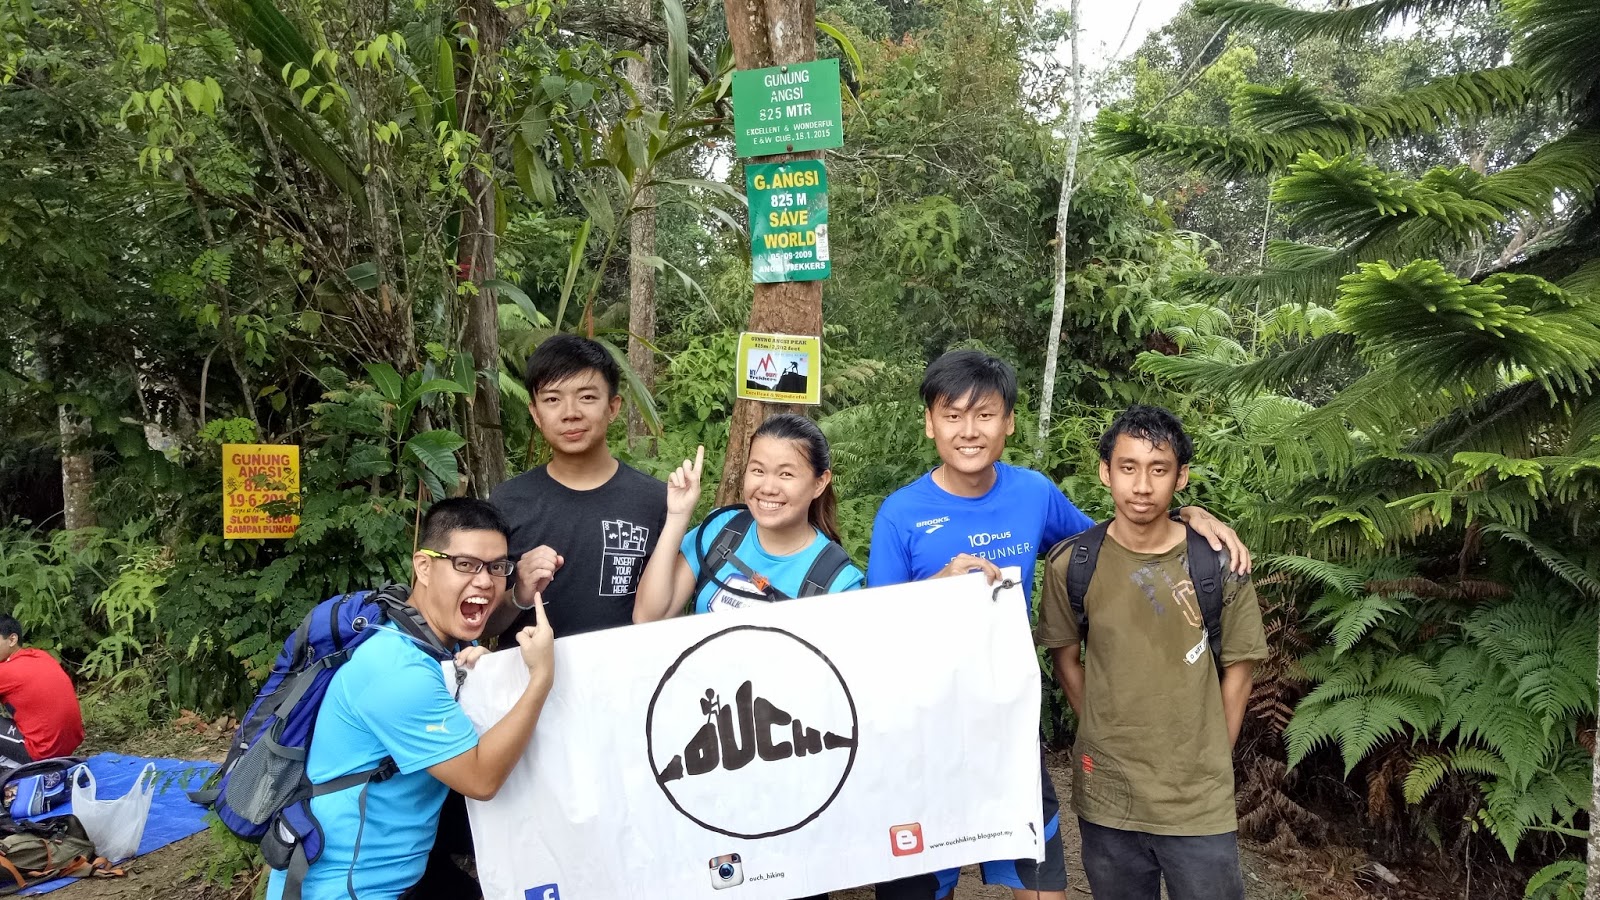
 *anyhow, group photo with our banner!!*

After 2 hours or so, we have finally reached the peak!!

 *group photo*

 *the view from where we took our group photo - blocked with fog again*

*the small hut for hikers to rest*

 *another group photo*

We rested at the peak for around half an hour.
Then we started to descent.

As we reached the waterfall view checkpoint, the fog is cleared and we got to see the view!!


The descent took us only around 1 hour plus as it is all the way downhill.

Summary of the hike:-
1. Prepare more water as you would feel exhausted from the uphills. Preferably some isotonic drinks or salt water to replenish salt and energy.
2. Bring food for filling tummy as you reach the peak you will probably be very hungry already (exhausted)
3. Bring along trekking poles for easier descent
4. The hill is 825m/2702ft above sea level
5. RM5 entrance fee per pax
6. Be ready for the 45 degree slope!!

Until the next hike, ciao!!

Monday, 18 April 2016

Lata Makau

Lata Makau is located at Kuala Kubu Bharu.

To reach this place, you just have to Waze or Google Gunung Kutu Parking.
When you reach there, just go all the way in until the end of the road, and you will see a parking space.
Since the parking space is very limited, it is advisable to go earlier or maybe drive a smaller car, for easier parking.

Before reaching the said location, if you are from Kuala Kubu Bharu direction, you will first pass by the very nice Sungai Selangor Dam. 
You can stop by for a while. The scene is really nice here.

*deadpool at Sungai Selangor Dam*

To reach Lata Makau, you will have to cross 2 bridges, and 3 forks on the road after crossing both bridges (I read few blogs and all mentioned there are only 2 forks but I encountered 3, so...)
For all 3 forks, just go to left route and you will reach the destination.

On the 1st fork, going left will lead you to Lata Makau or Lata Medang, going right will lead you to Bukit Kutu.
On the 3rd fork, going left will lead you to Lata Makau, going right will lead you to Ladang Medang.

So be mindful that if you want to get to Lata Makau, just keep going left!! =)

*first bridge* 

*deadpool on the first bridge* 

*the second bridge - it is damaged so be careful while crossing this, or you can just walk across the river since it is not deep*

 *first fork - follow deadpool and go to the left!!*

 *second fork - to the left again!!*

*third fork - another left!!!*


Some small bridges made out of branches that I crossed during the hike.
Not dangerous, but still need to be careful while crossing as they might break anytime.


*deadpool and the waterfall*

That is as far as we went.
We actually saw very big and nice waterfall along the way, but we couldn't get any photos of it as the current is strong, and it requires river hike so we did not attempt it as it is dangerous.

*distance summary*

Summary of this hike:-
1. Moderate hike, with quite a long distance (around 11km to-and-fro)
2. One set of clothes to change if you are planning to take a dip in the waterfall
3. You can picnic there if you want to, there are few stops where people camp or picnic there


Till the next hike, ciaoz!!!